第三方即时通讯服务,环信 IM云的集成使用,我这里主要以 web集成为主,如何把单聊模块集成到自己的项目进行的操作讲解,更多详细操作可以参考官网提供的开发文档
环信IM
一、准备工作
1.创建IM应用
注册账户,选择个人开发者(可以免费使用100个用户)
创建IM应用,注册模式选择开放注册

进入创建的IM应用,可以看到
appkey,orgname,client id,client secret等字段 ,后面需要使用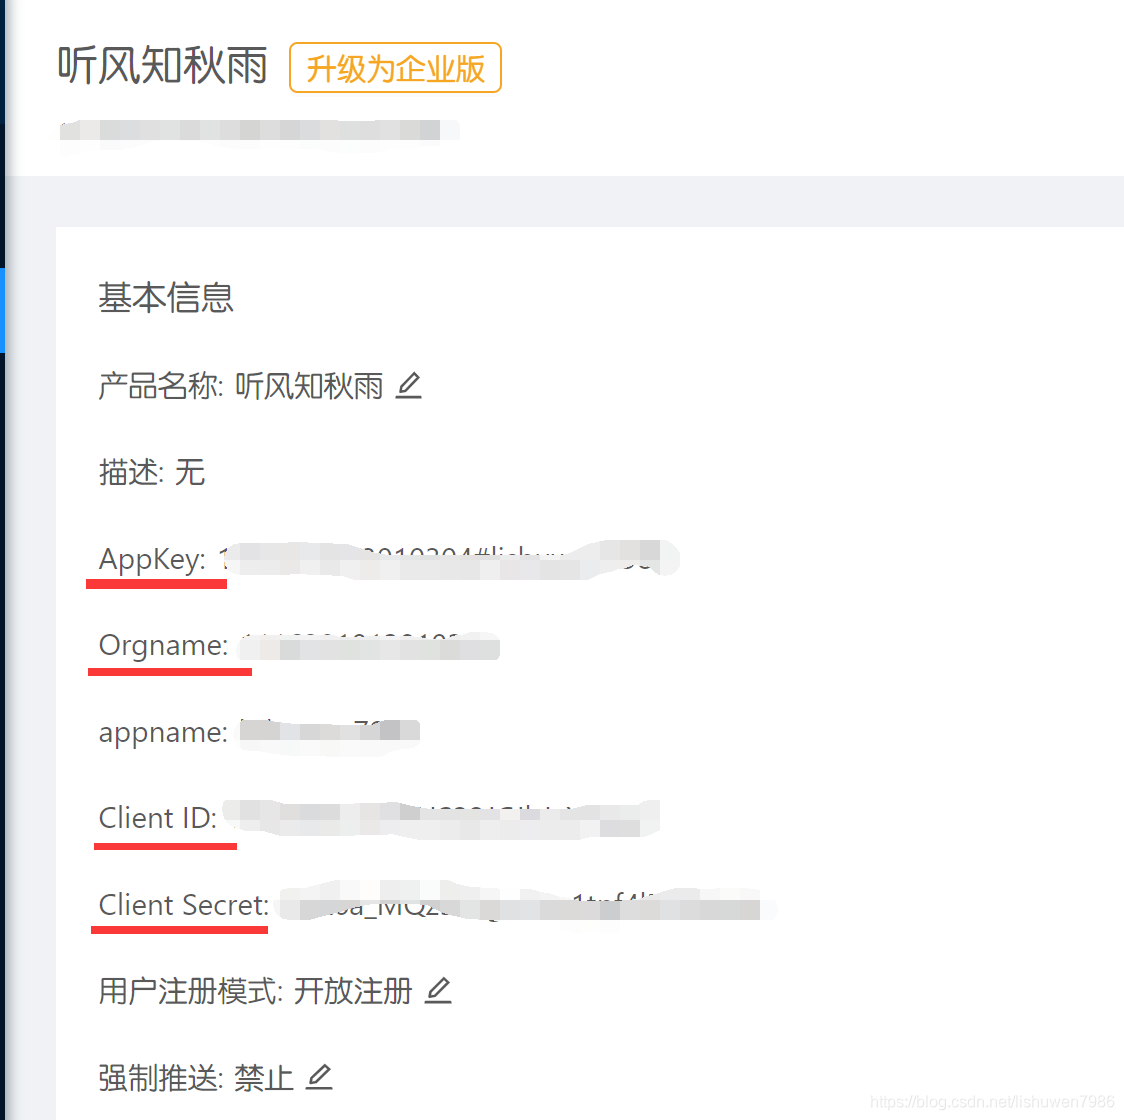
2.接口测试
打开REST API Doc, 这是环信服务器端集成
Swagger文档,用于测试各个API接口
这里以获取token为例


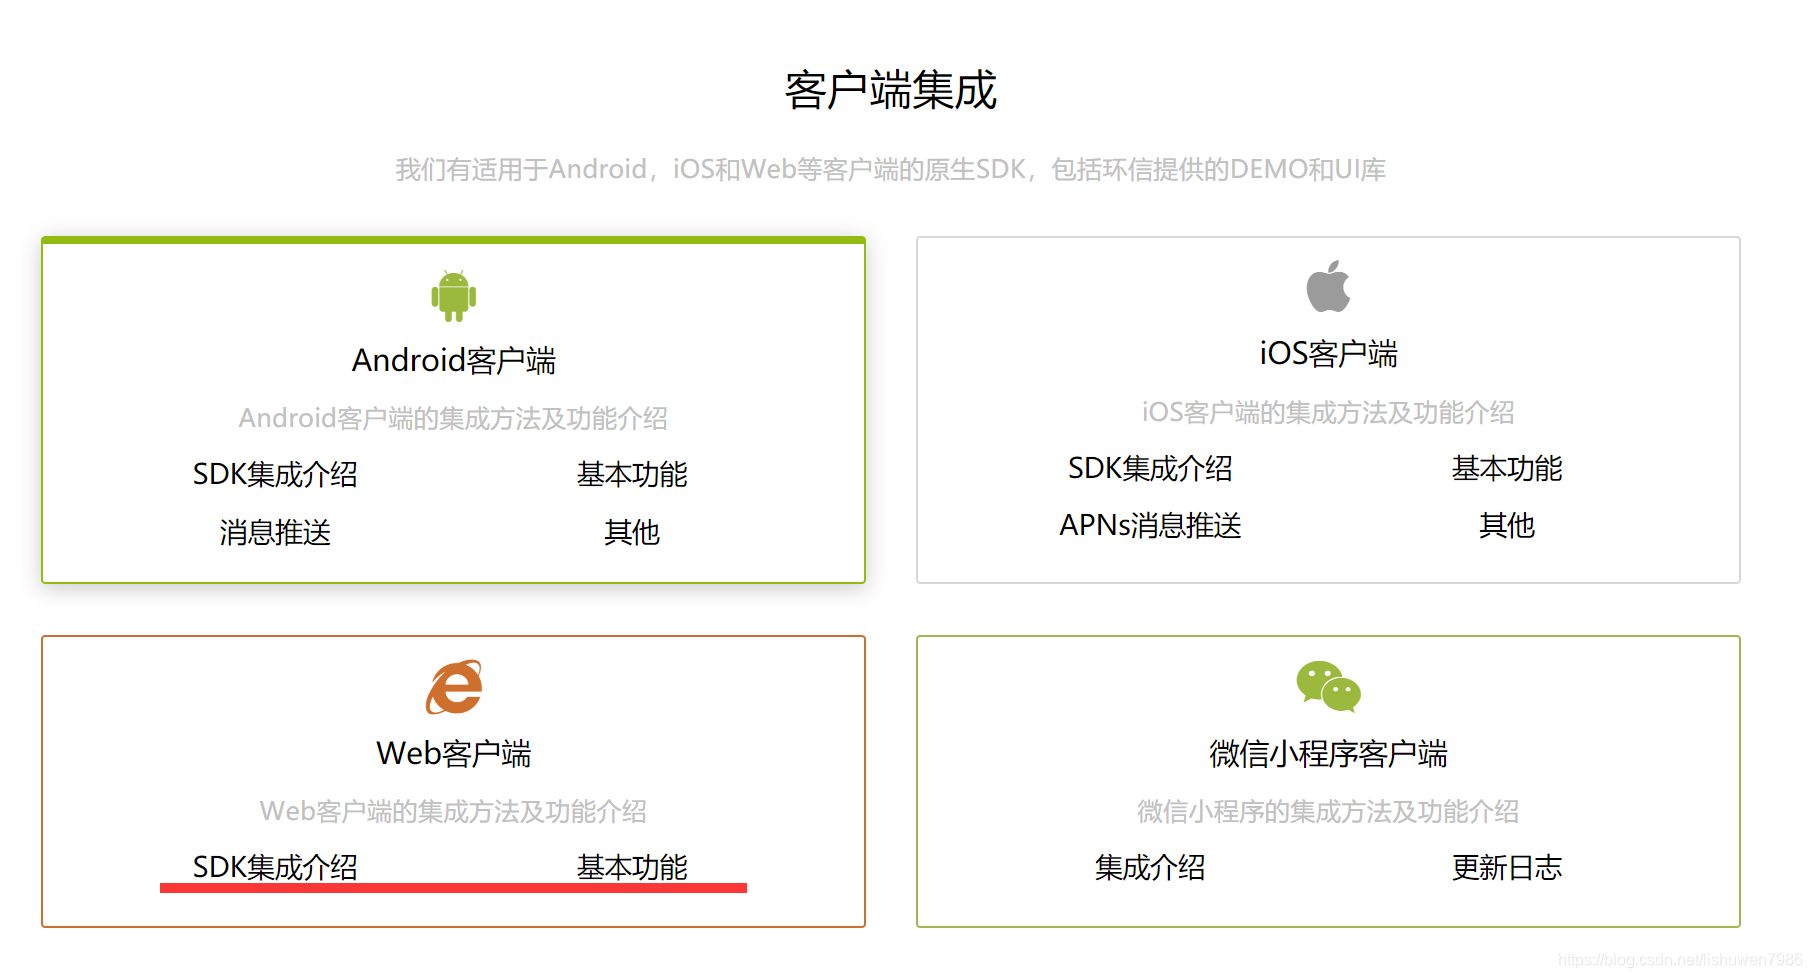
2.参照开发文档
我是web开发,选择的是web客户端集成:
二、Web IM 集成
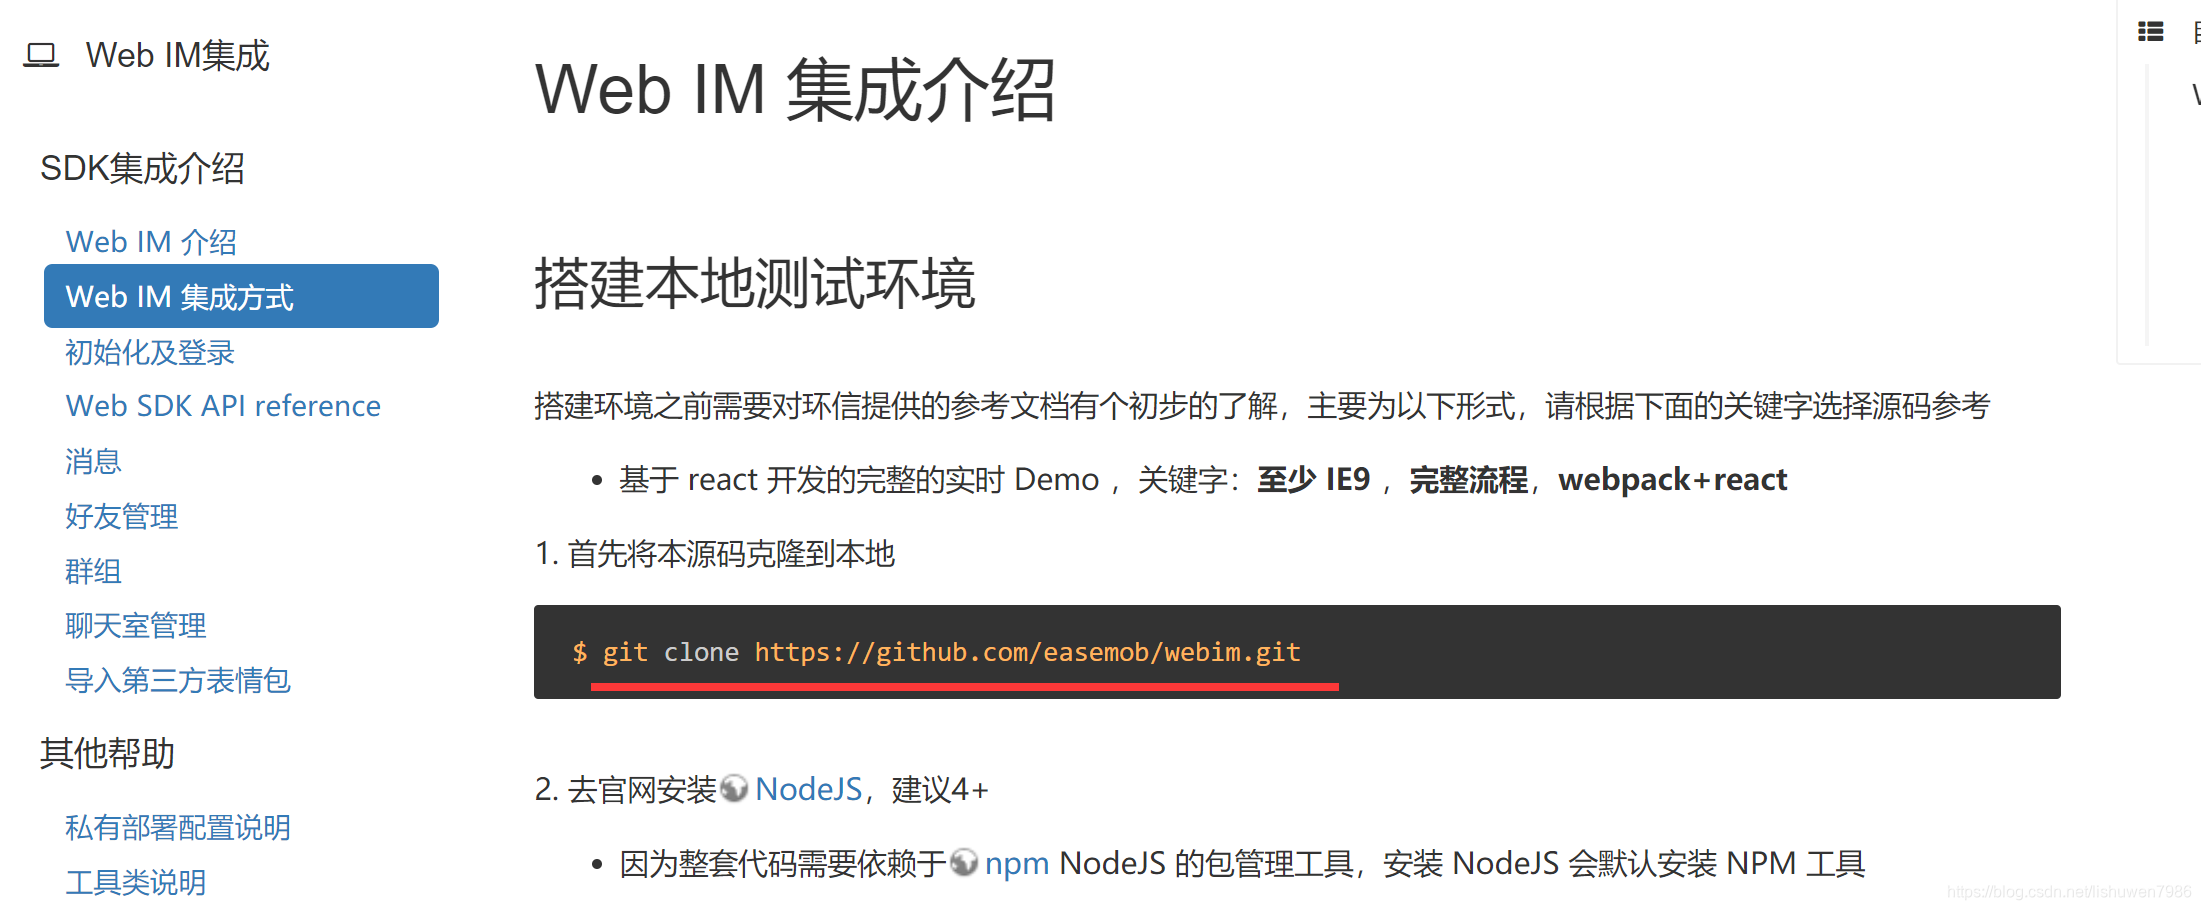
1.下载集成案例 (下载的文件名为webim)
1 | git clone https://github.com/easemob/webim.git |
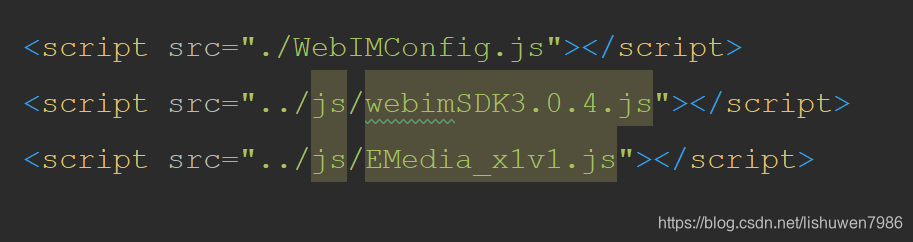
2. 复制案例中的文件到项目中
- \webim\sdk目录下的所有js文件到项目resources\static\js中
- \webim\simpleDemo目录下的demo.html和WebIMConfig.js放入项目resources\static\中
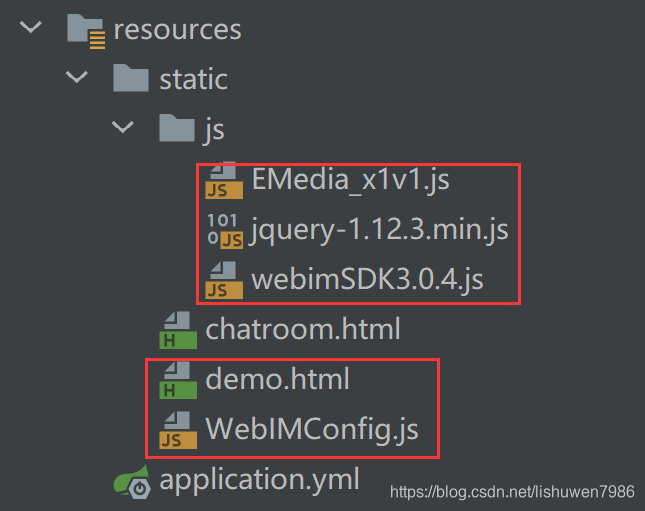
demo.html文件是一个测试文档,依靠这个文档可以做集成
注意事项:
要修改demo.html文件引入js文件的路径,否则js路径会不对,因为这里是复制过来的
3.启动springboot进行测试
我的项目地址:http://localhost:9008/demo.html
demo.html文件中提供了两个测试账号:
测试帐号:1c1c,密码:111
测试账号:1v1v,密码:111

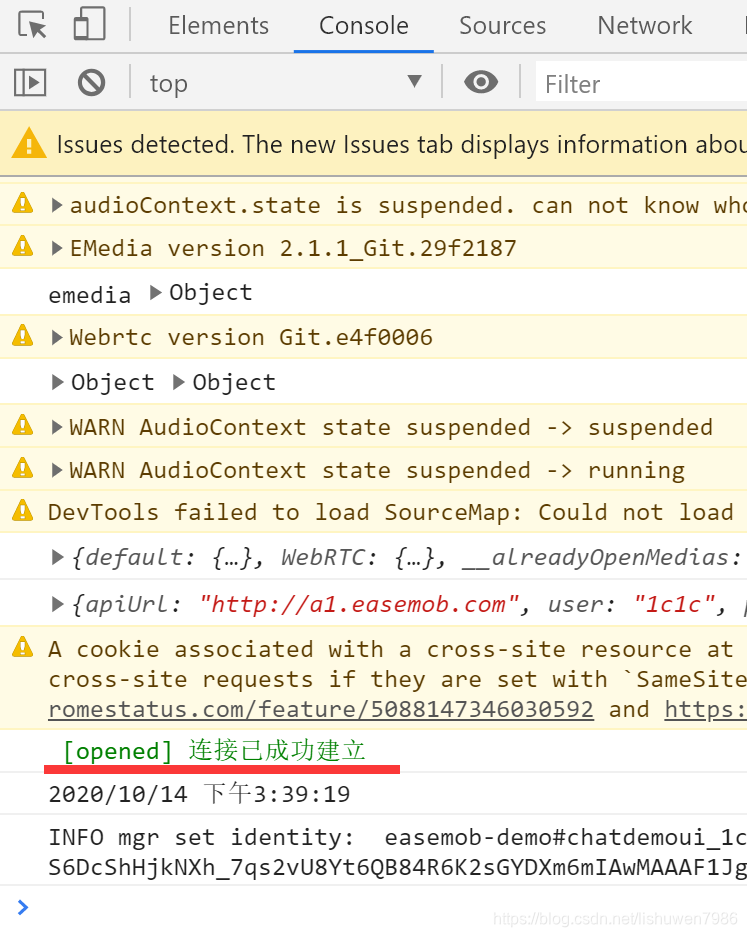
登录之后可以看到连接建立成功代表成功登录了,之后在新打开一个同样页面在登录另一个测试账号
登录好另一个测试账号就可以发消息进行测试了:
1v1v给1c1c发送消息

1c1c收到1v1v发送的消息

简单的单聊测试就完成了,后面就是将demo.html文件中需要用到的功能集成到自己的html文件中就OK了
4. 集成demo文件的功能到自己的HTML文件中
以我自己的HTML文件chatroom为例,先从demo文件中复制
meta和script标签的信息到chatroom中
修改WebIMConfig.js文件中
appkey为自己创建的IM项目中的appkey(在自己IM中注册用户等操作必须的)
从demo文件中将以下这段建立连接复制到chatroom的
script标签中(建立连接必须的)1
2
3
4
5
6
7
8
9
10
11
12
13
14
15
16
17
18
19/*建立连接*/
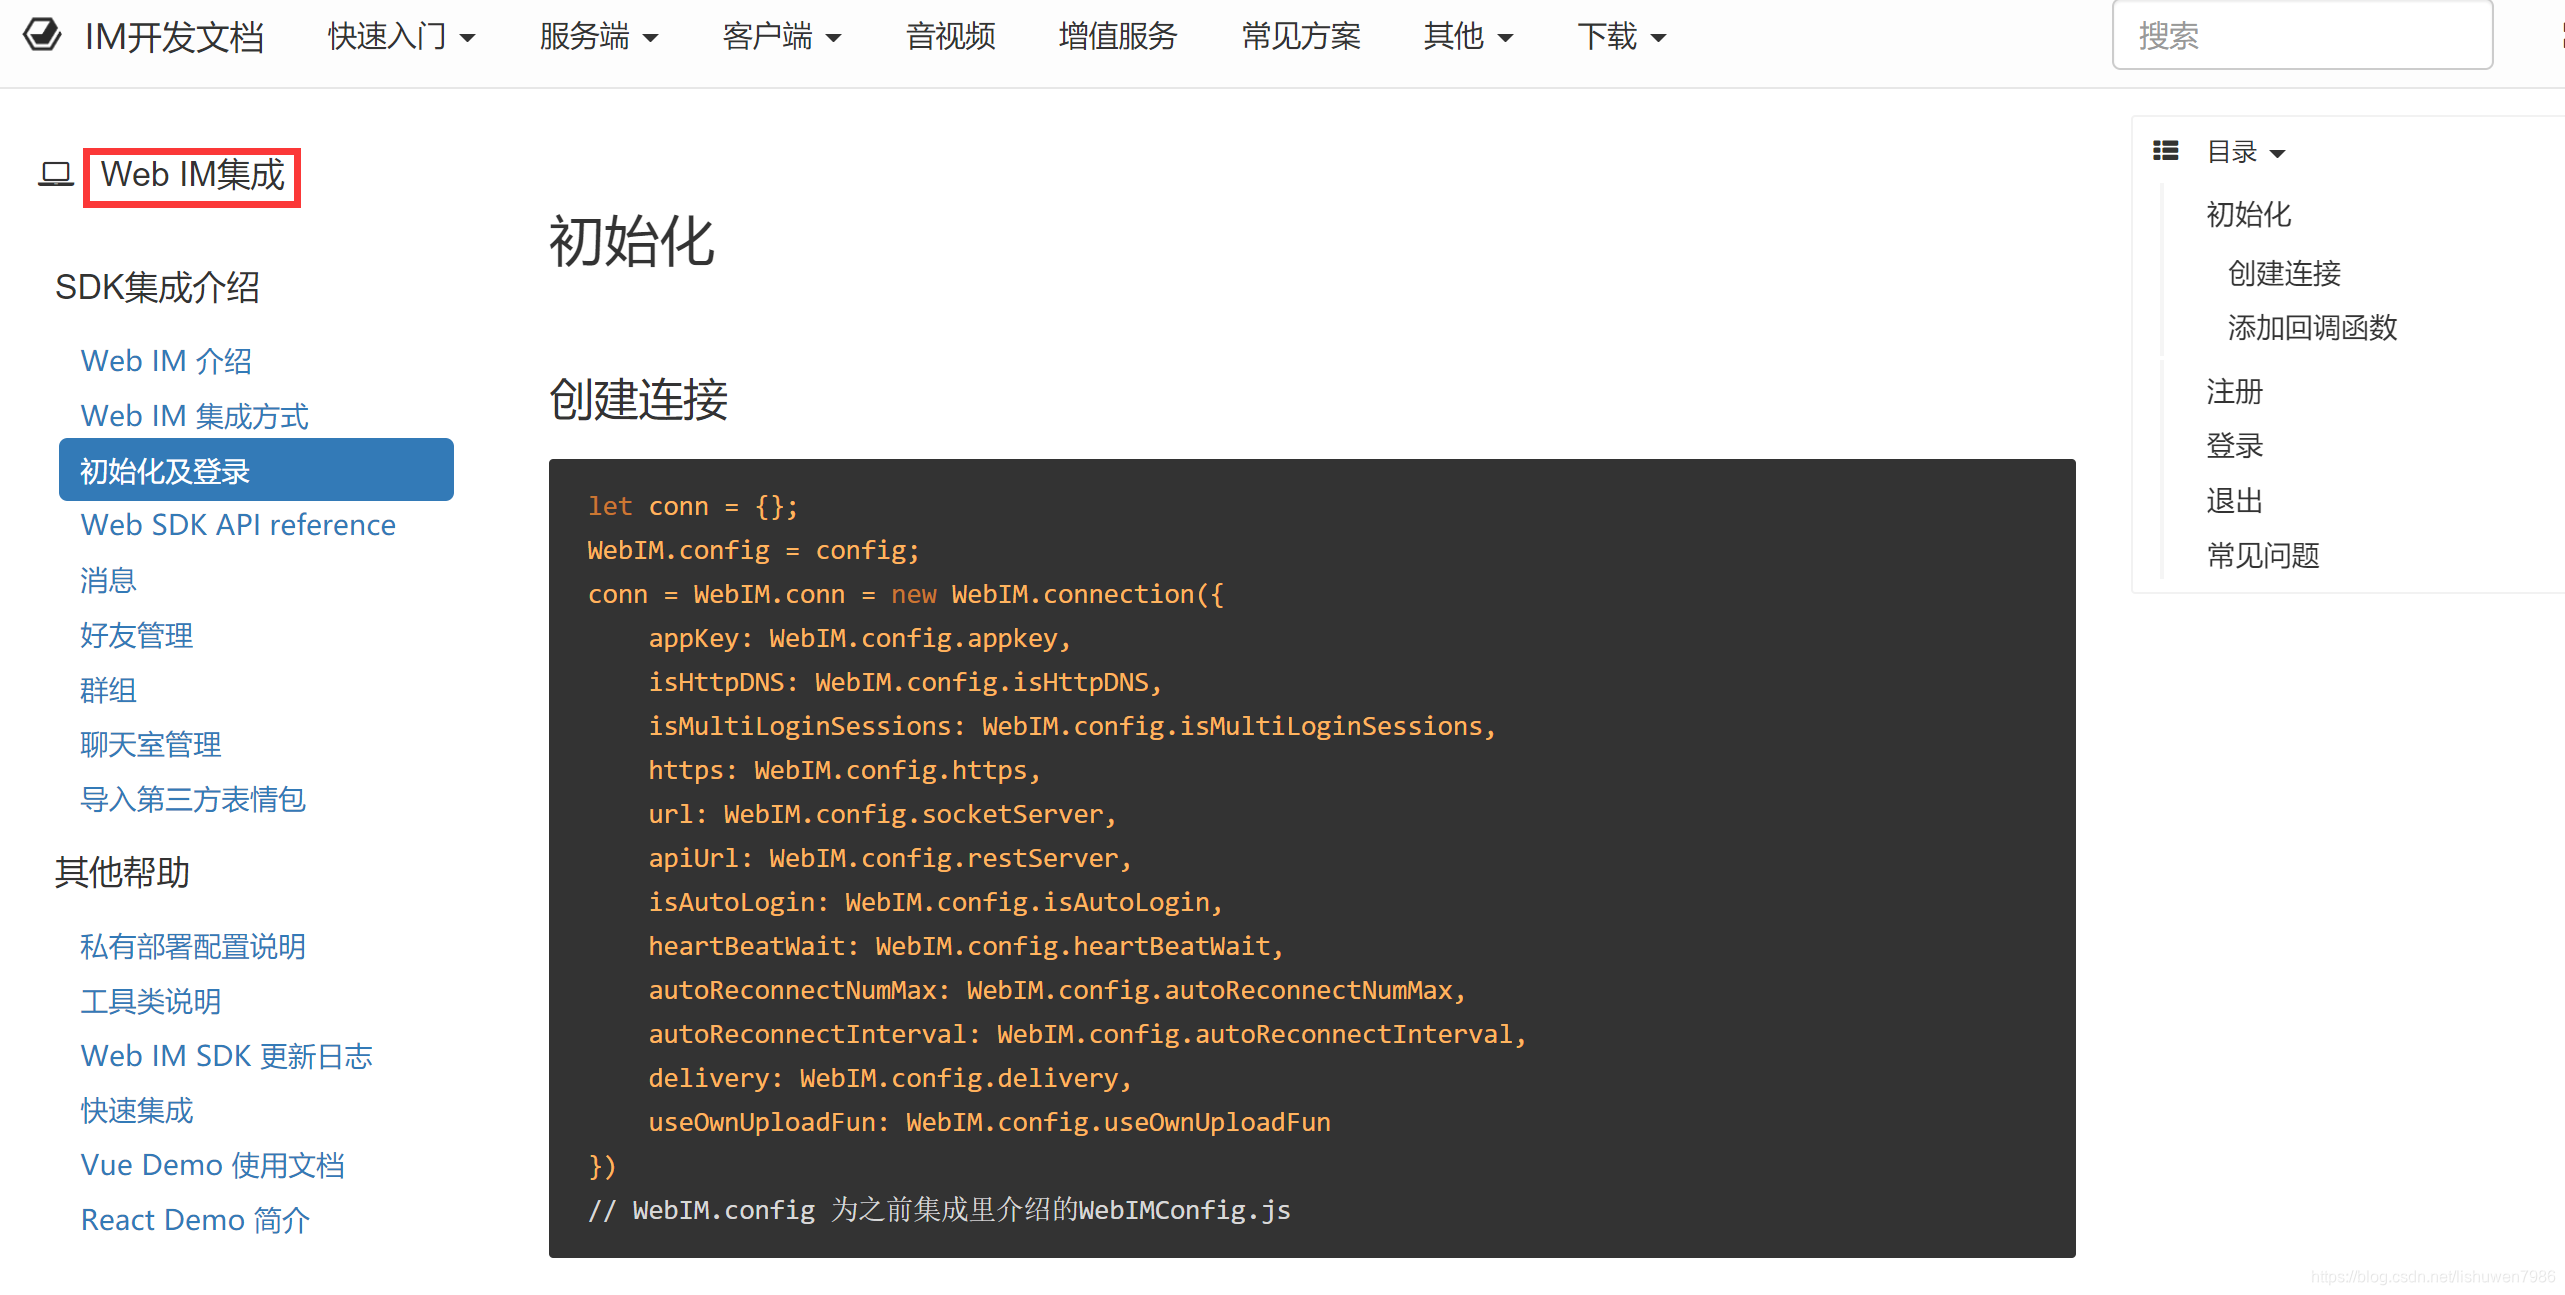
var conn = {};
console.log(WebIM, window.WebIM);
WebIM.config = config;
conn = WebIM.conn = new WebIM.default.connection({
appKey: WebIM.config.appkey,
isHttpDNS: WebIM.config.isHttpDNS,
isMultiLoginSessions: WebIM.config.isMultiLoginSessions,
host: WebIM.config.Host,
https: WebIM.config.https,
url: WebIM.config.xmppURL,
apiUrl: WebIM.config.apiURL,
isAutoLogin: false,
heartBeatWait: WebIM.config.heartBeatWait,
autoReconnectNumMax: WebIM.config.autoReconnectNumMax,
autoReconnectInterval: WebIM.config.autoReconnectInterval,
isStropheLog: WebIM.config.isStropheLog,
delivery: WebIM.config.delivery
});从demo文件中将以下这段回调方法复制到chatroom的
script标签中(监听必须的)1
2
3
4
5
6
7
8
9
10
11
12
13
14
15
16
17
18/*回调方法*/
conn.listen({
onOpened: function (message) { //连接成功回调
var myDate = new Date().toLocaleString();
console.log("%c [opened] 连接已成功建立", "color: green");
console.log(myDate);
// rek();
// alert(myDate + "登陆成功")
},
onClosed: function (message) {
console.log("onclose:" + message);
console.log(error);
}, //连接关闭回调
onTextMessage: function (message) {
$("#log-container").append("<div class='bg-success'><label class='text-info'> 收到用户id为:"+message.from+";发的消息是:</label><div class='text-info'>"+message.data+"</div></div><br>");
console.log('onTextMessage: ', message);
}, //收到文本消息
});
以上都是必须完成的步骤,后面的内容根据实际开放场景进行添加:
具体操作步骤查阅Web IM集成开放文档
我的chatroom.html文件(可供参考)
1 |
|
5. 测试使用
在mysql数据库中建立表,有
userId,和password
在controller中编写
findById方法用来获取password和ickname
通过我的chatroom文件中可以看到,通过
userId就可以获取password和nickname(注册和登录是同样的逻辑)
注册两个账户,userId分别为
1和2用来进行测试

将用户1和用户2分别登录后进行单聊测试
用户1给用户2发送消息:

用户2收到了用户1发过来的消息:

OK,单聊的集成就算是完成了,如果需要集成更多的内容可以从demo.html文件中复制过来,也可以参照文档说明